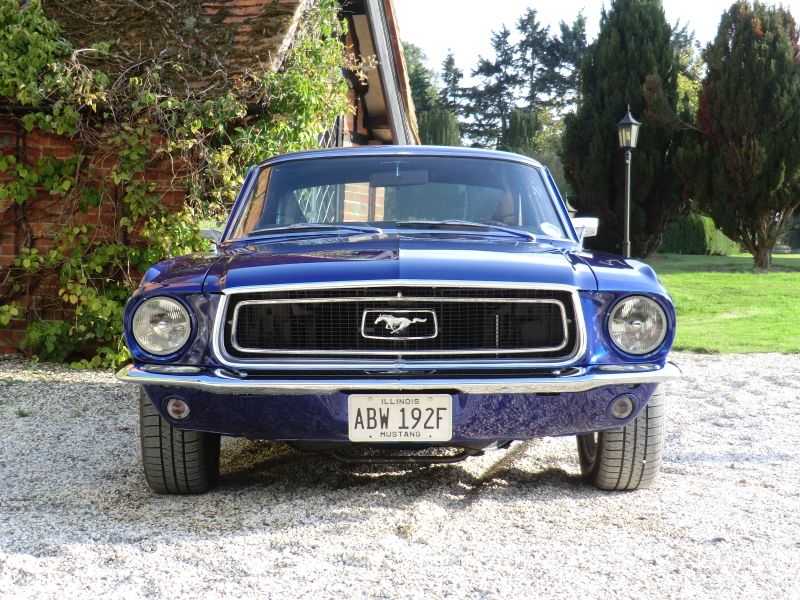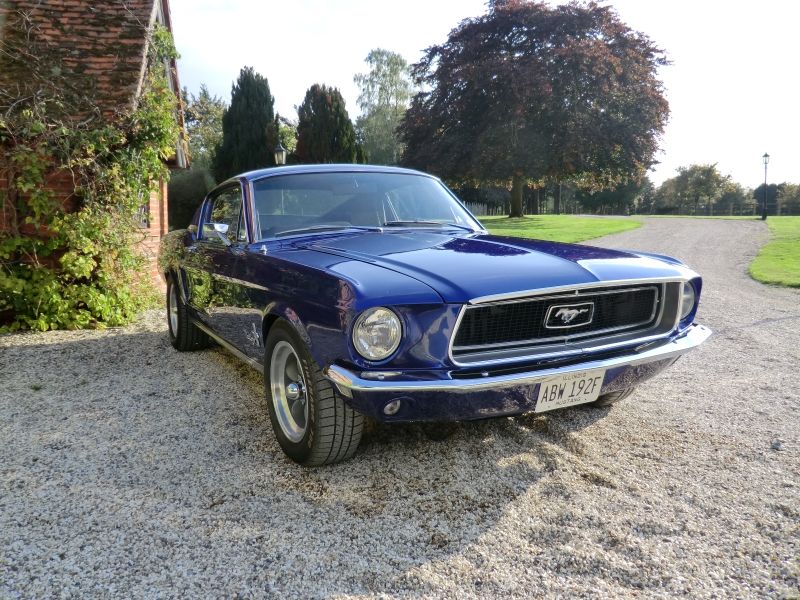
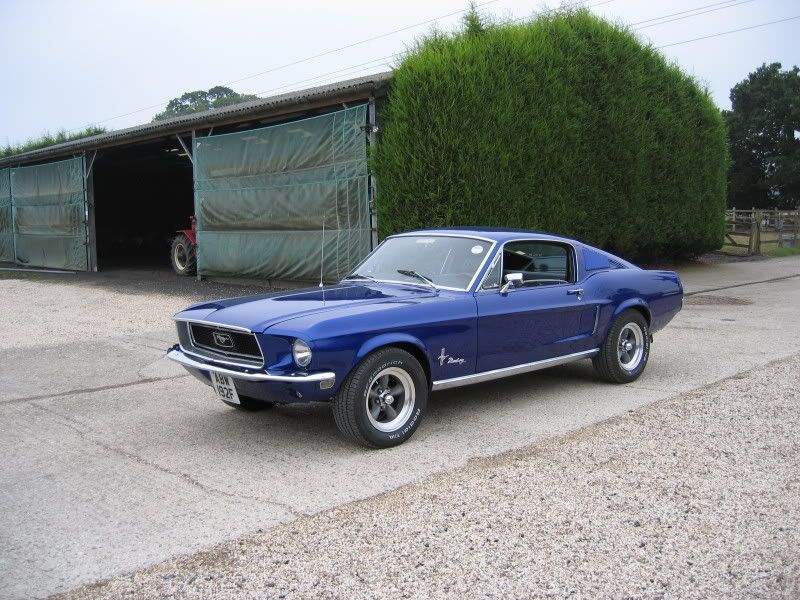
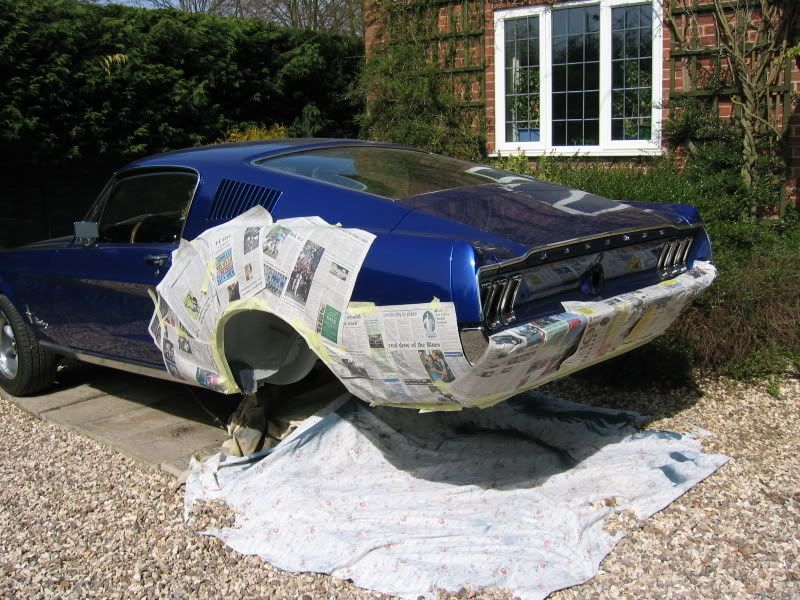
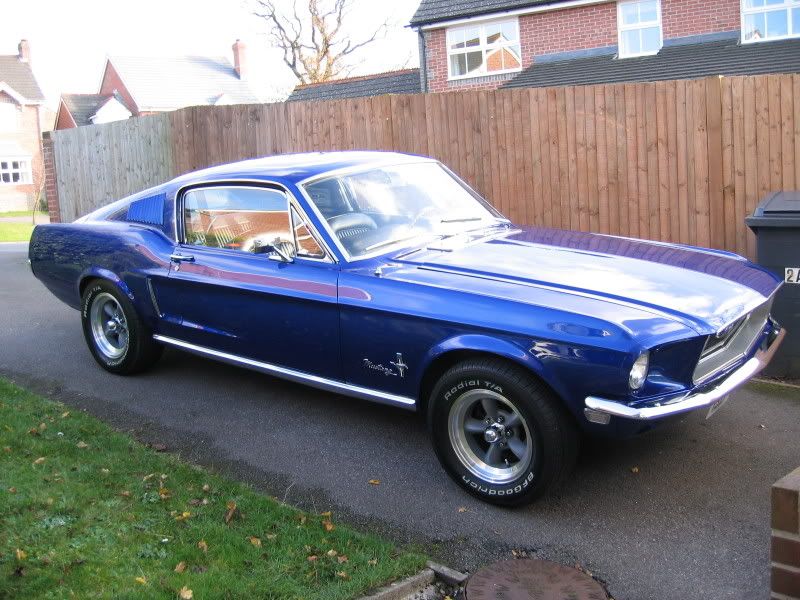
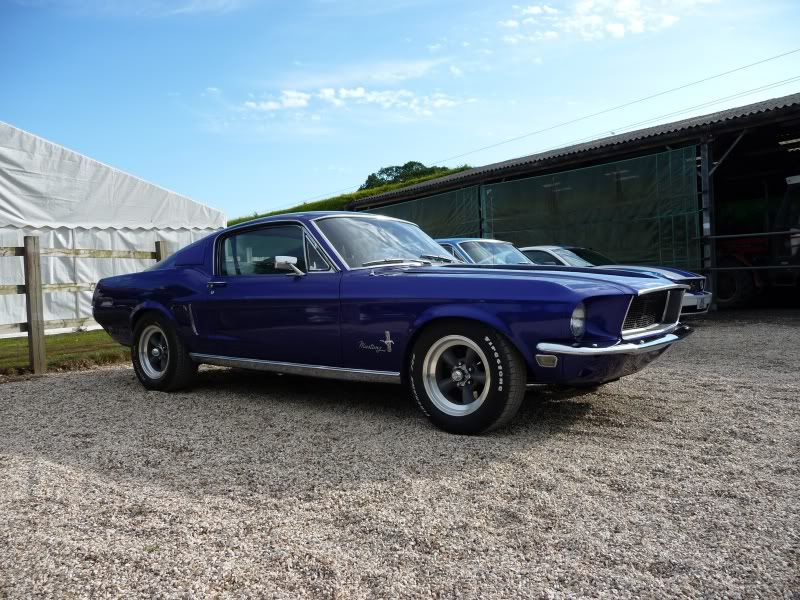
In 2005 I was lucky enough to be in a position to realise a childhood dream of buying an early Ford Mustang Fastback. After entrusting my faith and a small fortune to a reputable dealer, I eventually got my dream car. Here's a picture of my 1968 fastback as it was delivered in 2006 (6 months late, after a supposed full-restoration). Looks great huh...? Well looks can be deceptive!
I recently wrote an article for the Mustang Owners Club of Great Britain about my trials and tribulations of buying and restoring the car featured on these pages. You can read the MOCGB magazine article here:
- 1968 Fastback Restoration - Part 1 (PDF ~5Mb)
- 1968 Fastback Restoration - Part 2 (PDF ~5Mb)
- Matt
Phase 1 - Rear underbody protection, Axle and Suspension
Due to the limited space available within my single car garage in the UK and having limited budget (after having paid over the odds for the car in the first place) the only option was to do any restoration and repair work myself. This resulted in many hours spent in cramped and often damp conditions underneath the car trying to stop my pride and joy from falling foul of the UK weather.
I should point out that prior to any pictures were taken, I had spent many hours scraping, scrubbing, cleaning, prepping, sealing and painting the underbody with zinc primer.
I took a short break from work to attack the rear-end of the car, I was praying for good weather as working outside in April might as well be like doing a rain dance! The eight pictures you see below are the result of my work over that week.
Before...
A view of the axle, springs and shock-absorbers (dampers if you prefer).
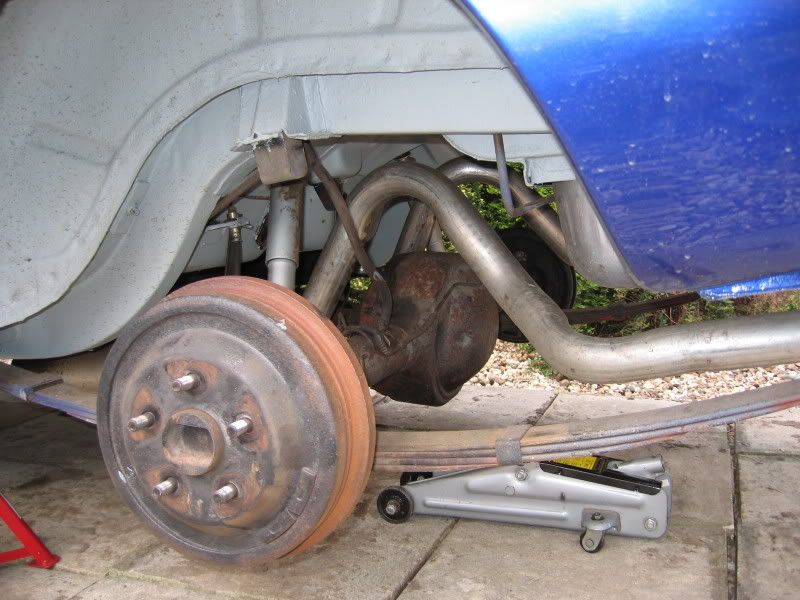
Perished fuel hose, rusty fuel line and extended leaf spring shackles adorned the rear. The rear ride height was like an off-road vehicle with the extended shackles, those had to go!

...During
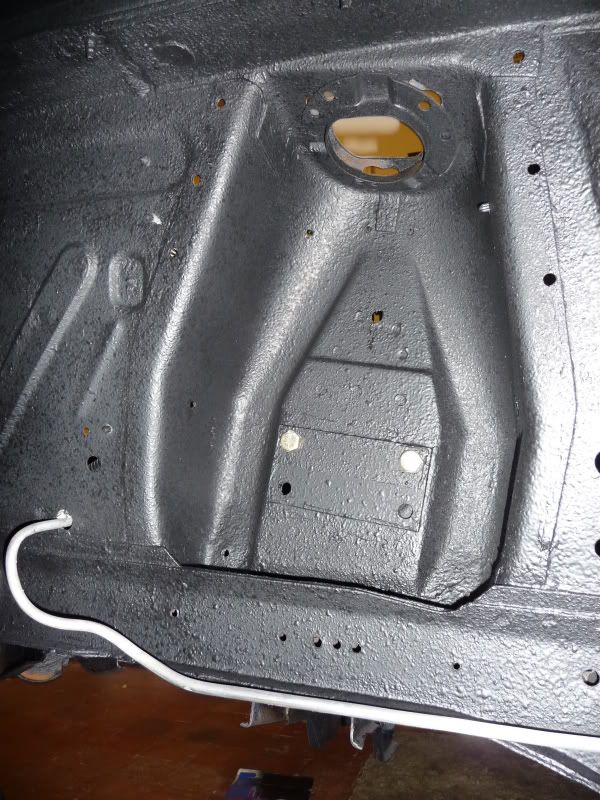
Fully cleaned, zinc-primed and seam-sealed ready for underbody protection.
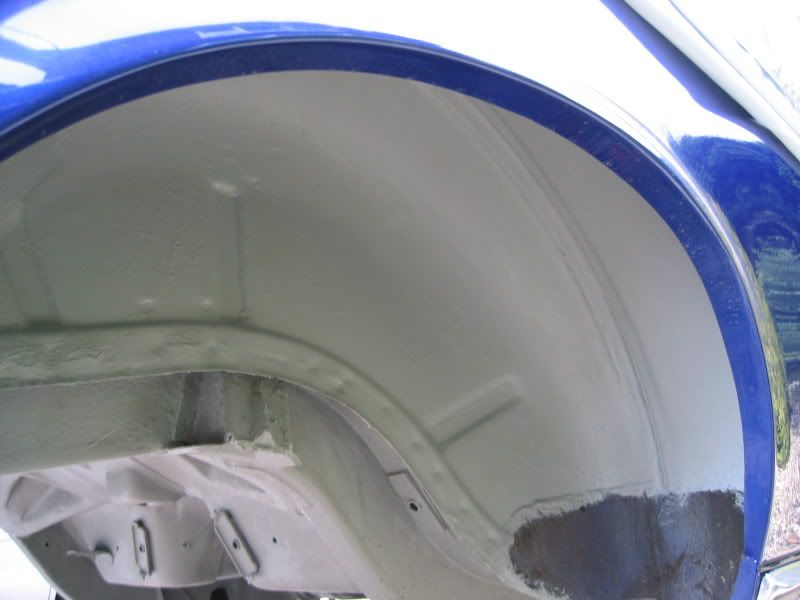
Masked up and ready to be sprayed with the superb Wurth underbody sealant.
What a transformation, spraying this stuff is messy but well worth the effort. I think this pony could nearly float it's so well sealed now.
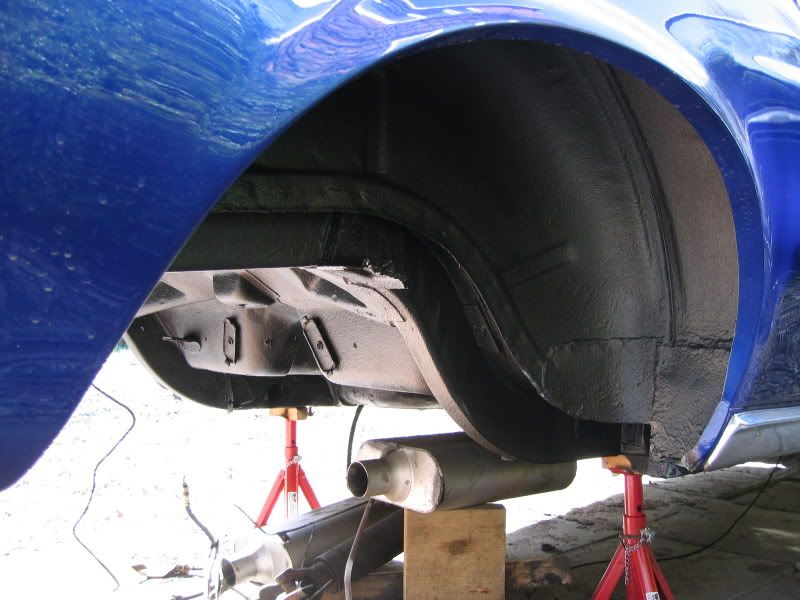
...and After
All cleaned, painted and re-installed with new GT specification leaf springs, poly bushes, new heavy-duty shackles and grade-8 hardware all around. The KYB shocks were given a clean and refitted with new poly bushes. The OE rear drum brakes were stripped, cleaned, drums painted, refitted and re-adjusted.

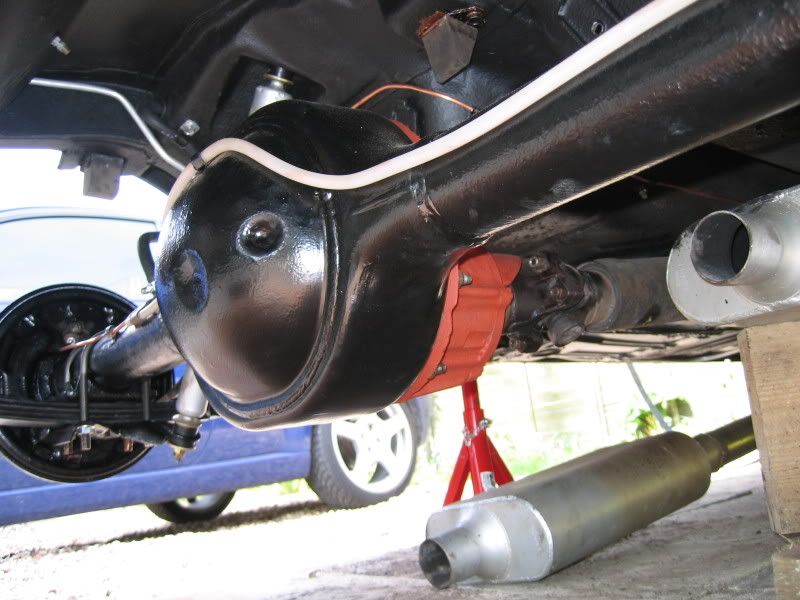
Galvanised fuel tank cleaned and painted for extra protection, with a new reproduction fuel sender and 3/8" aluminium fuel line installed.

Much cleaner and better protected from the British climate! Entirely new brake pipes were run from the master cylinder back, although getting the correct UNF fittings in the UK was interesting and no, they're not the same as British cars with UNF fittings!
The car was fitted with a standard Ford 8" axle with a 3.00:1 open differential from the factory, but I'm unsure if this has since been swapped-out. I ordered an Auburn Gear Pro series limited-slip differential unit and rebuild kit, but chose not to fit it at this point.
With some determination, hard-work and a little sun-worship it's amazing what you can achieve. Now onto the next phase...
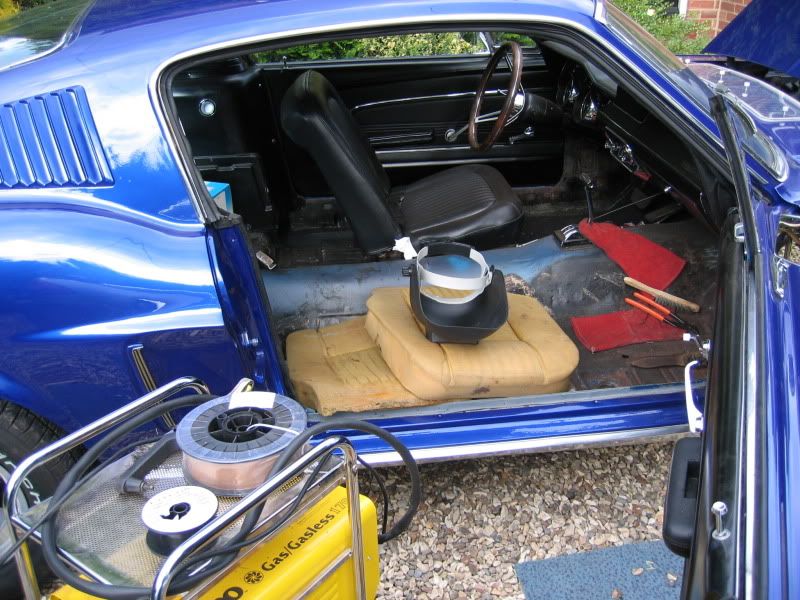
Phase 2 - Trunk, Floors and Interior
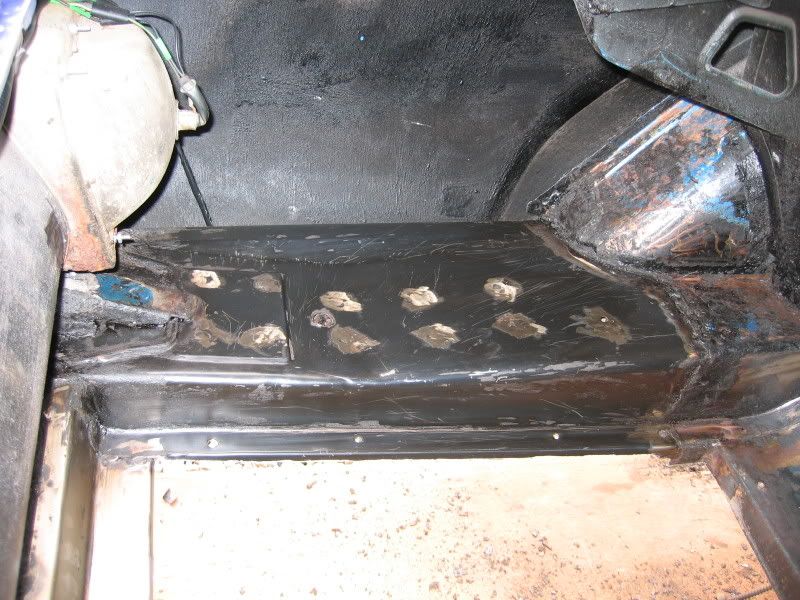
The next phase of the project carried on into the interior of the trunk, where after performing some repairs the shop had spray horrid bitumen based under-seal onto the whole trunk floor. This left a sticky oil residue everywhere which had to go!
Washed off with copius amounts of elbow grease and a gallon of paint thinners, the trunk was back to a reasonable state. Here's a photo showing the trunk floor repair.
With the trunk lid removed for painting on the underside and the trunk was fully cleaned ready for zinc-primer and paint.
The interior was fully stripped out to inspect the condition of the floors
Only to reveal some a shoddy cover-up job, hiding the rust in the passenger-side torque box.
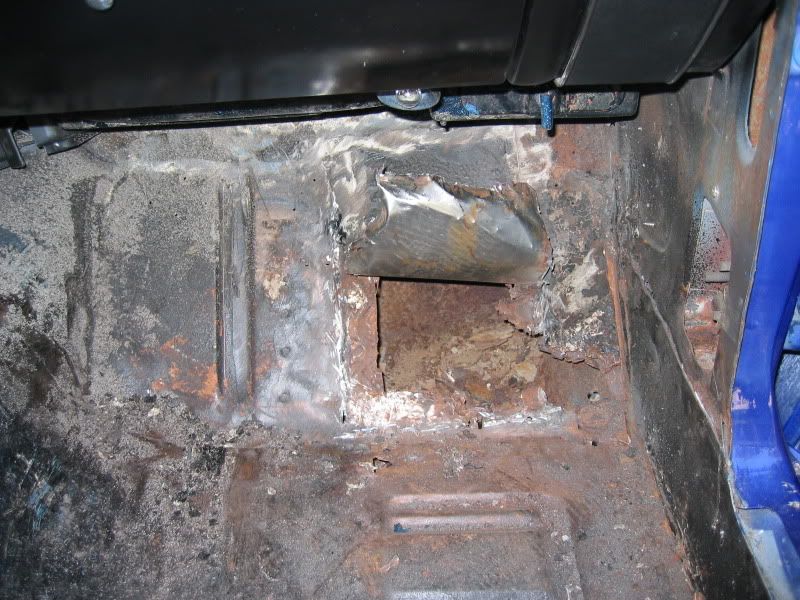
The only thing for it, was to break-out the mig welder and teach myself how to repair the damage.
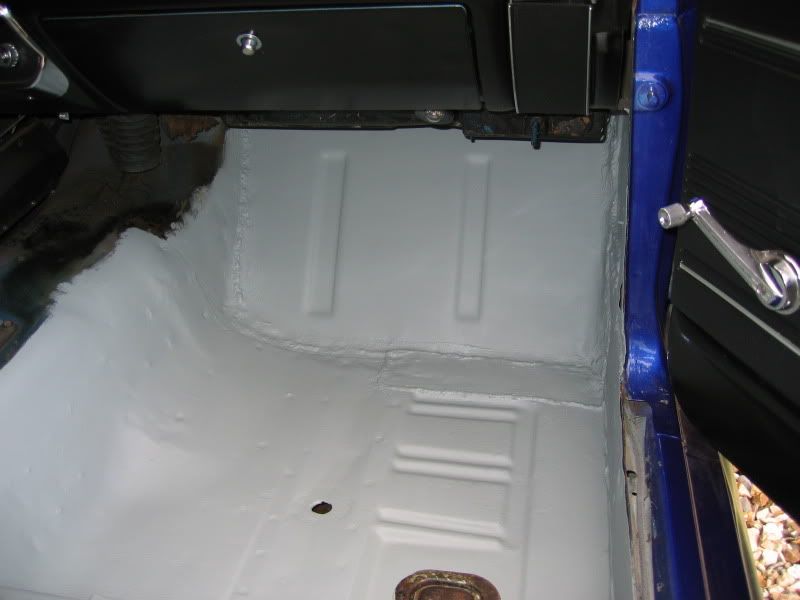
All made good with reproduction and repair panels. Sealed up and given a good coat of zinc primer. Hardly concours, but an honest repair.
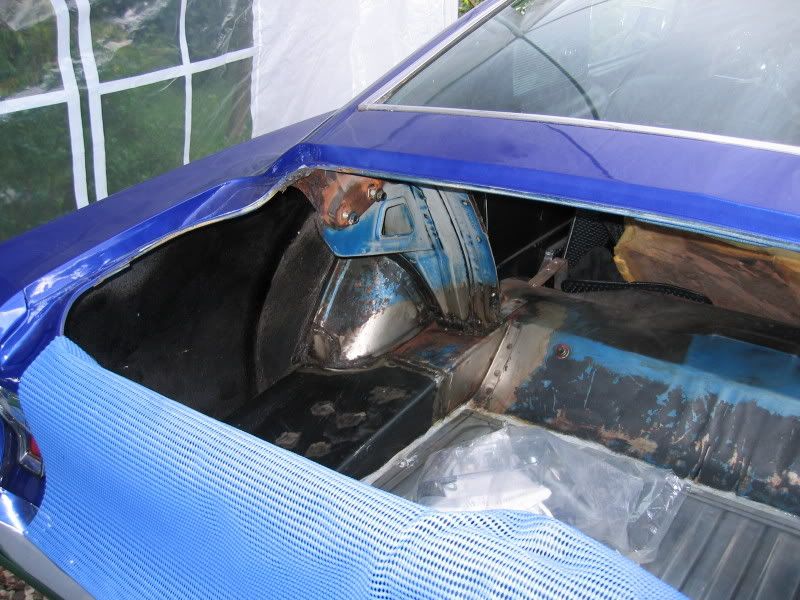
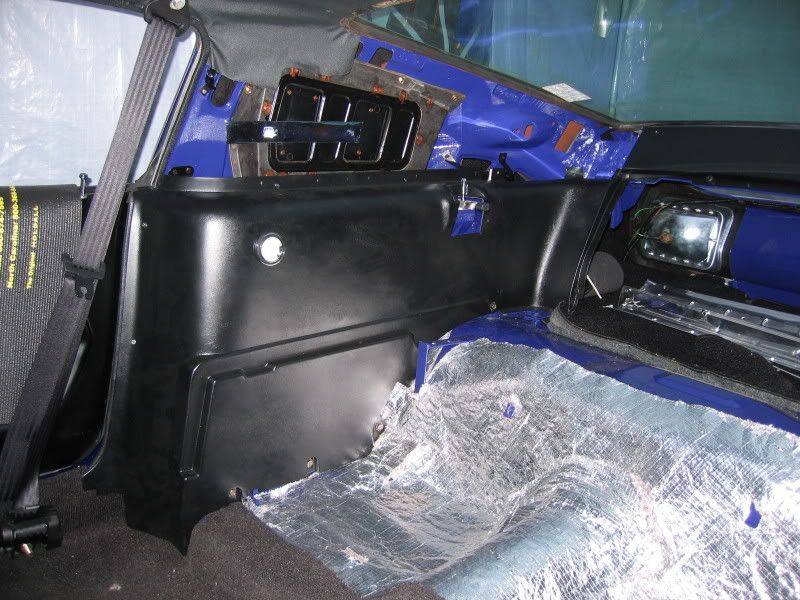
The rest of the interior was fully stripped, cleaned and all factory sealant removed. What a dirty, manual job.
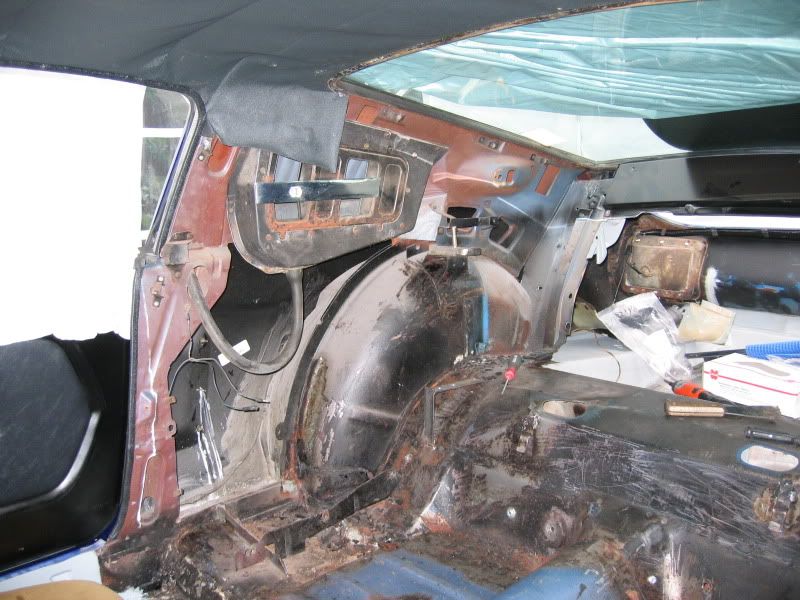
The same view of the interior before the fibreglass panels and carpet are reinstalled.
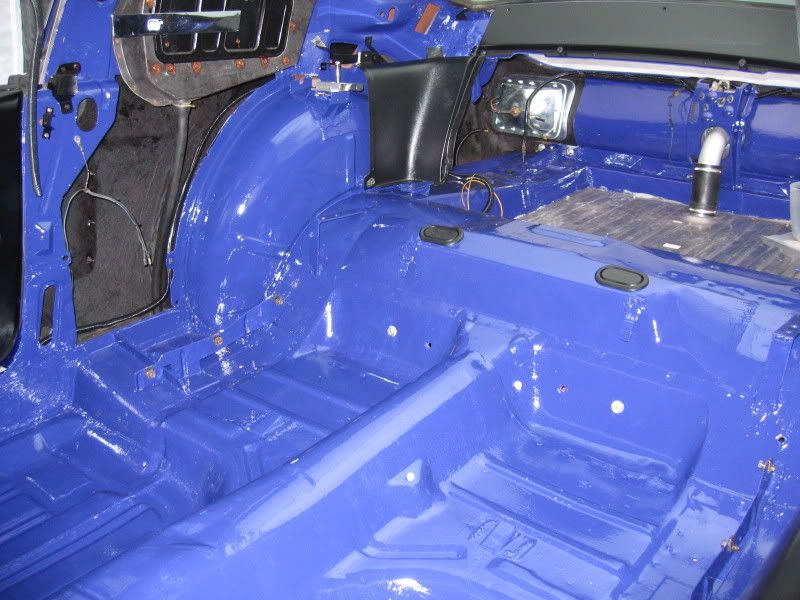
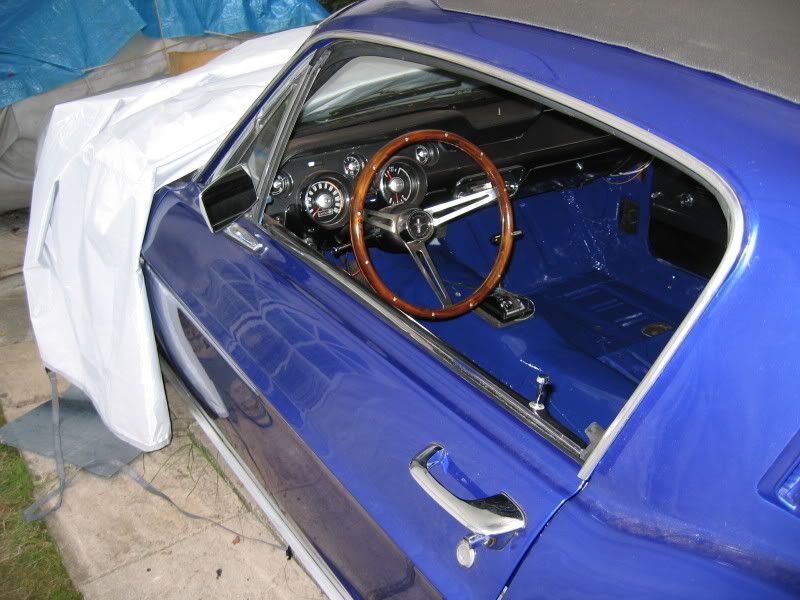
Fully stripped, sealed, primed and painted from trunk to firewall. The Grant steering wheel was also treated to some 'french polish' courtesy of my grandfather (84 yrs and still going strong!).
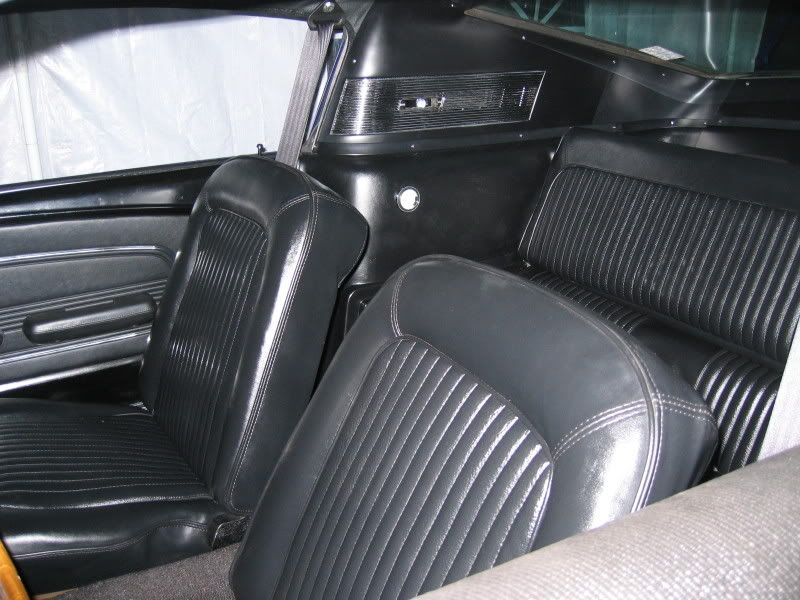
Carpet, sound insulation and interior panels going back in.
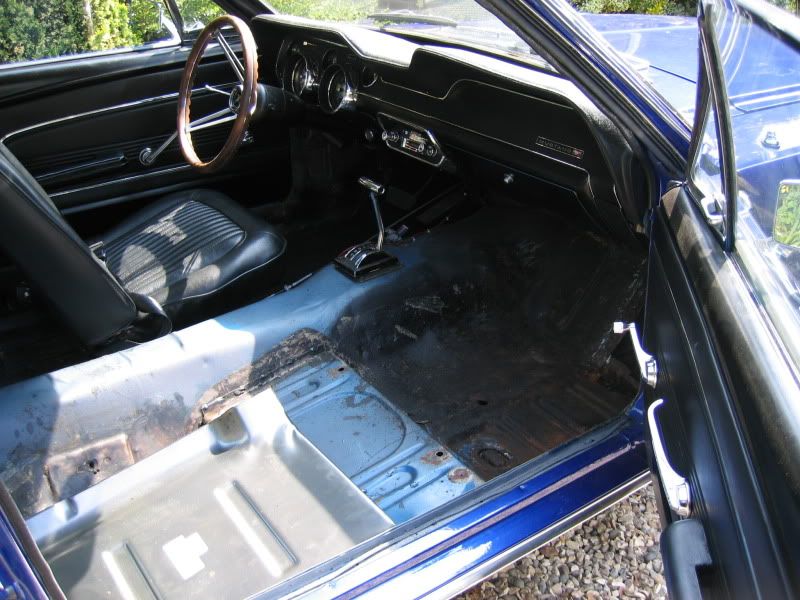
View of the reassembled interior. The keen eyes among you will also spot new 3-point Securon retractable seat-belts and the 'incorrect' 1967 door cards and handles.
From the gut-wrenching discovery of major rust issues, to the satisfaction of knowing that's all been made good by my own hand no less. The sense of achievement I gained was a real high. Not bad considering all of the work was carried out in a makeshift garage, bought on ebay for Ł60. It worked great until the wind picked up!
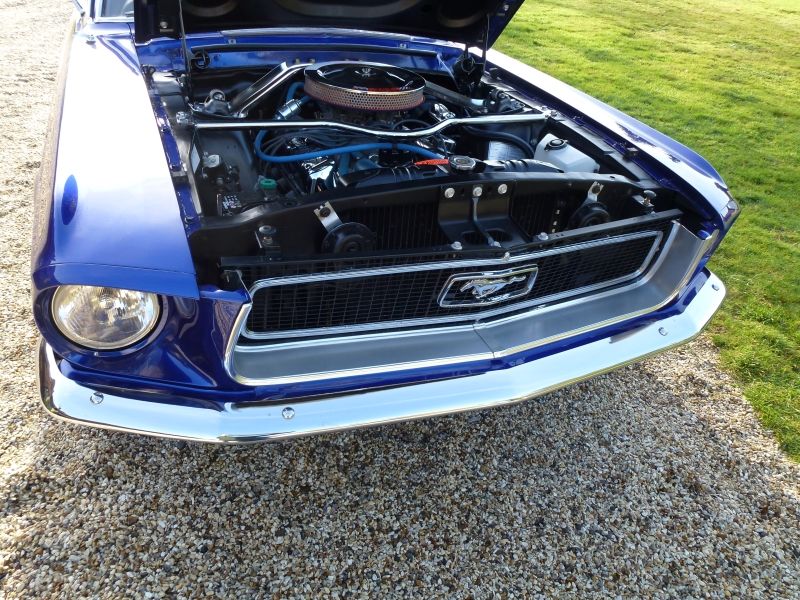
The car flew through the MOT test, next step is to stop the leaks, improve the brakes and make the engine bay look at good as the rest of the car.
Phase 3 - Engine, Engine-bay, Transmission and Front Suspension
I was getting sick of the constant oil, transmission and power-steering fluid leaks, so the time had come to tackle the last and most complex phase of the project.
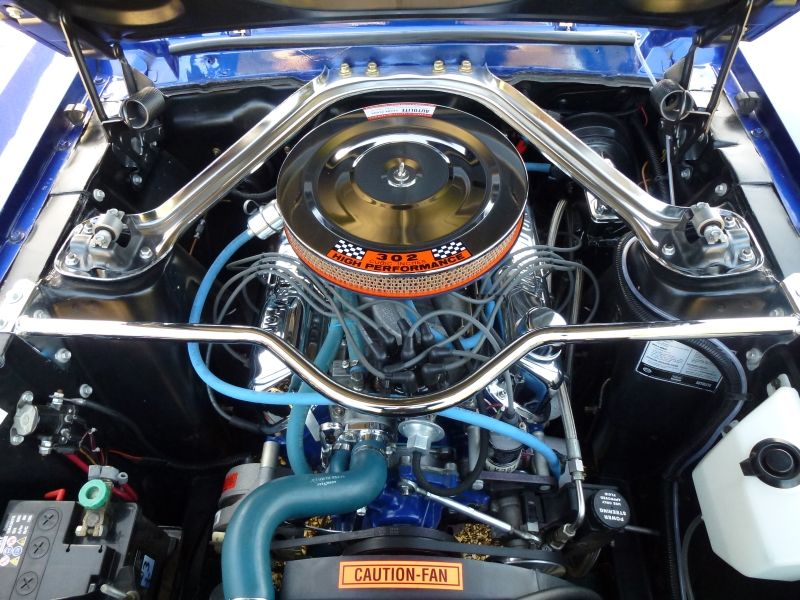
The full story of the small-block 302ci 'J-code' engine rebuild can be found here along with other useful information.
Apart from some minor tinkering, tidying and a few new parts, this is how the engine-bay looked after I took delivery. Functional but far from tidy!

A few of the issues were:
- Broken radiator core (separating from the tanks)
- Leaking power steering hoses
- Leaking transmission oil-pan gasket and shift lever o-ring seal
- Faulty alternator (dropping one of the phases, creating a 'noisy' DC voltage)
- Leaking oil pan gasket
- Blown header gaskets (at both cylinder heads and both collectors)
- Poor braking performance
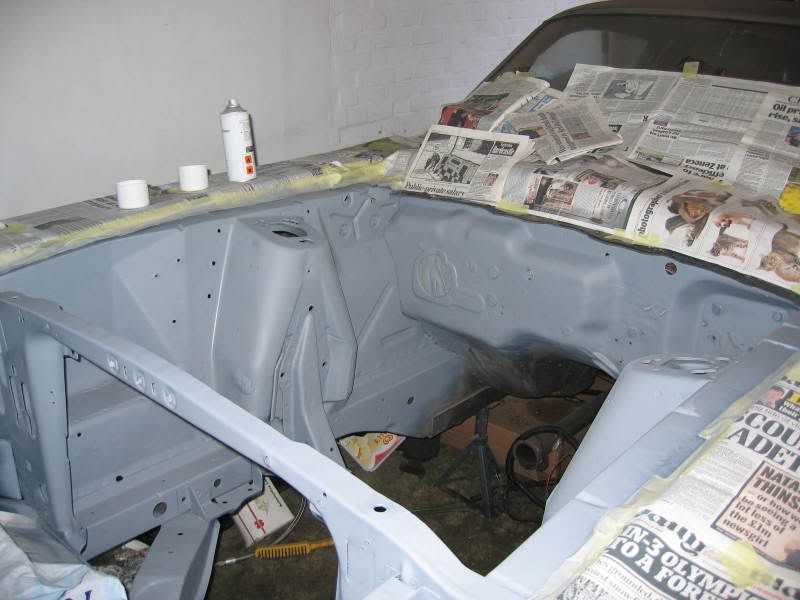
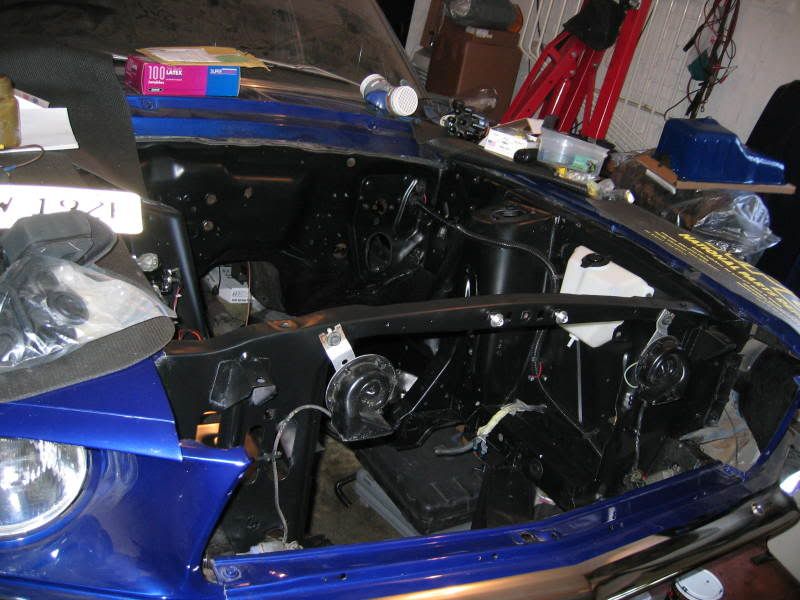
I removed all of the front brakes, suspension and other components from the engine bay ready to chemically stripped it back to bare metal. When I removed the battery tray, I found the usual Mustang trait whereby the inner fender had rusted through as a result of acid damage from the battery.
At the same time I removed all of the old dirt, grime and body sealant in the front wheel arches. I then chemically cleaned them with paint thinner and primed them with grey zinc primer.
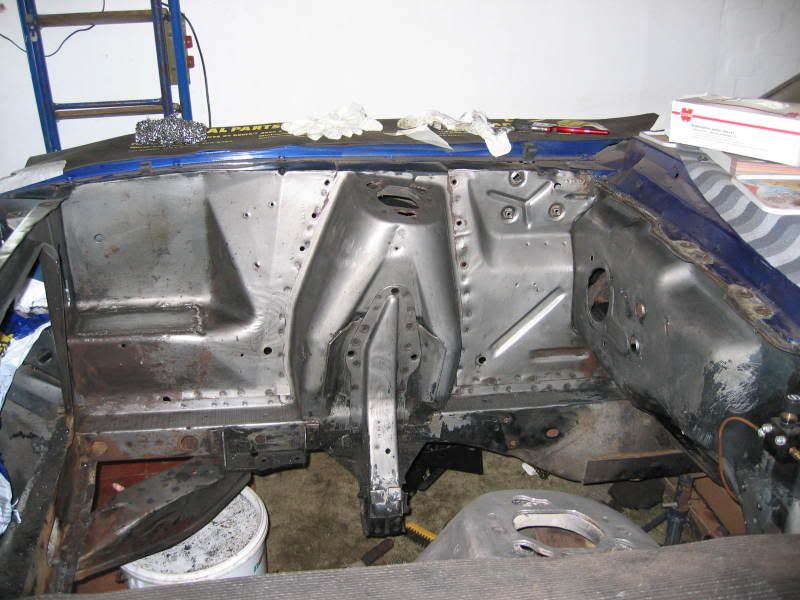
Another common problem is where uninformed owners or mechanics (grunts) either cut, or use a club hammer to increase clearance between the shock tower and UCA (Upper Control Arm) grease points. Early mustang front suspension is known for having an annoying "squeak" if the UCA pivots are insufficiently lubricated. In the case of my 1968 Mustang, the shock towers were so badly damaged (as a result of the hammering) they had to be welded to repair a split in the metal that had occured.
The shock towers are a major structral component of the early Ford Mustang unibody, as they carry the weight of the car and front suspension loads as the UCA and coil springs mount directly to them. Anything that could compromise the strength of the shock towers is a bad idea in my opinion.
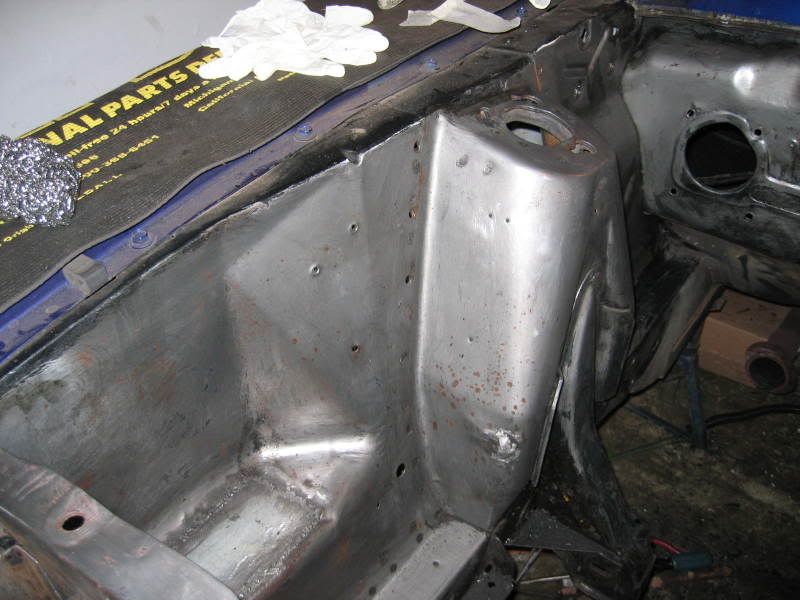
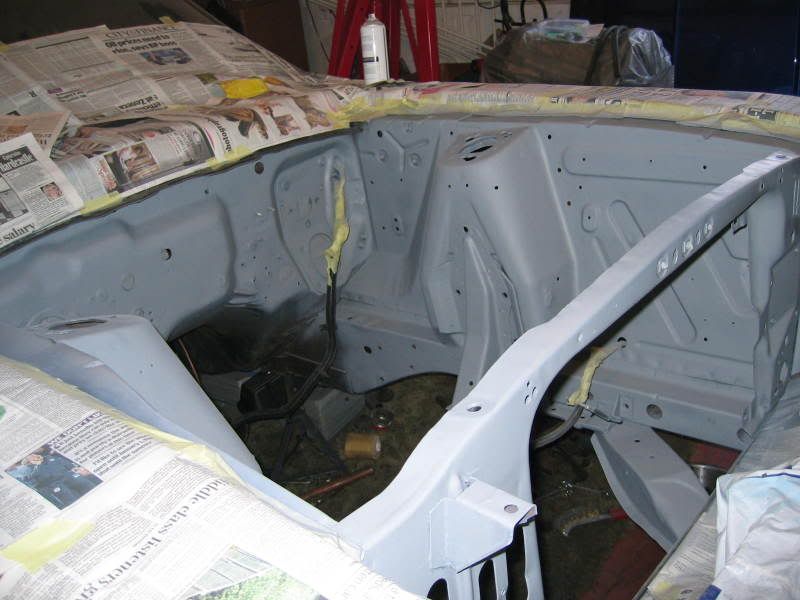
There were some minor areas where surface rust has just started to creep in, so these were cleaned off using a wire-brush attached to a grinder. Messy but it worked a treat!
After some minor touch-up work with some body filler (bondo), the metal was sprayed with good coat of zinc primer. Once cured, all panel joins were sealed with Wurth flexible seam sealer. This is an example of where modern products and methods are far superior to the original factory approach.
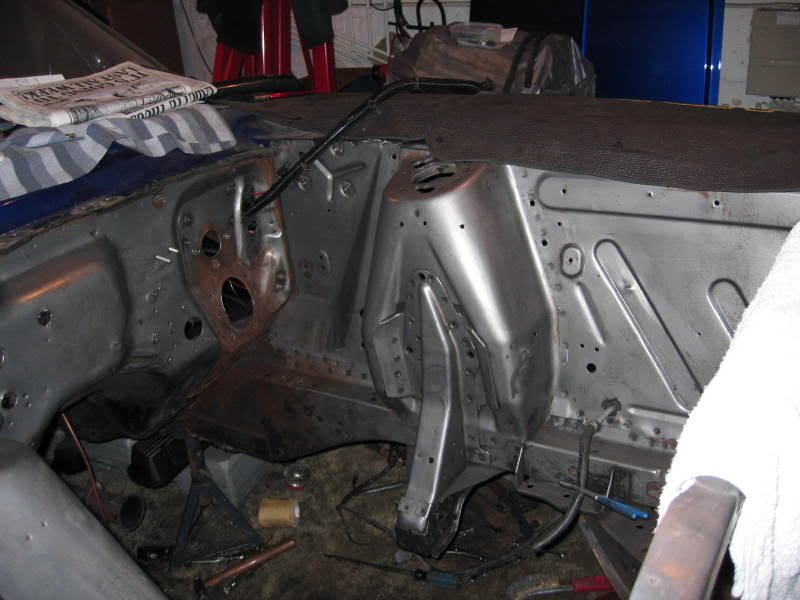
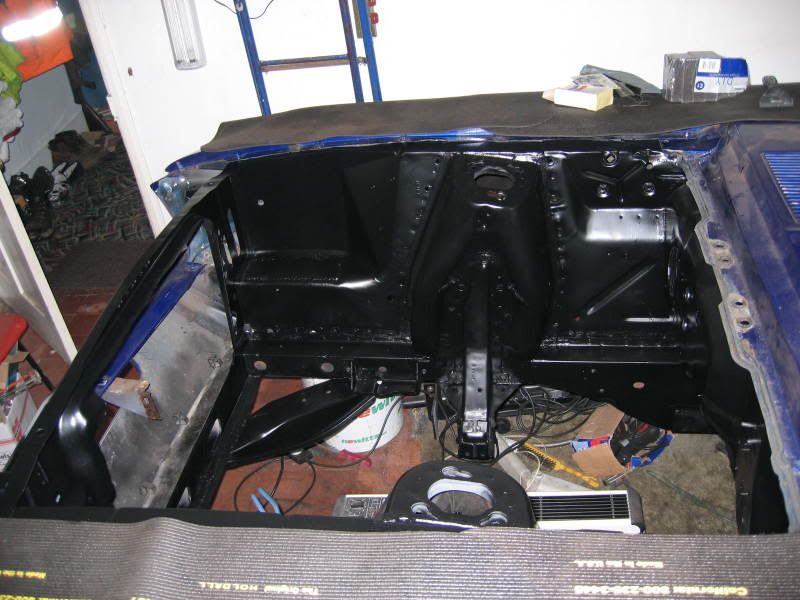
I had debated whether to colour code the engine-bay with the body, but I decided to follow the factory approach and paint it satin black. After a few coats the engine-bay looked almost factory fresh and with only a few more areas to tidy, I could get on with the fun part, reassembly.
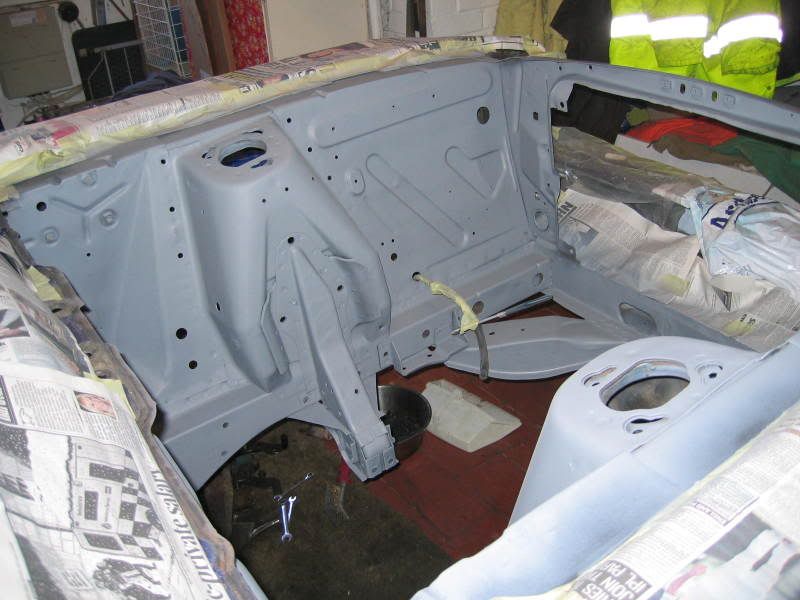
My attention then moved onto the fender wells, after priming I seam sealed all panel joins and then applied a good coat of underbody protection in the form of Wurth Stoneguard. It's not like the messy, smelly bitumen based products, it dries almost hard and forms a skin which is slightly rubberised and protects against stone chips.
The inside faces of the front valance and stone deflector got a coat of the same stuff just for added protection. Now the wiring looms, battery tray, horns and washer bottole can go back in.
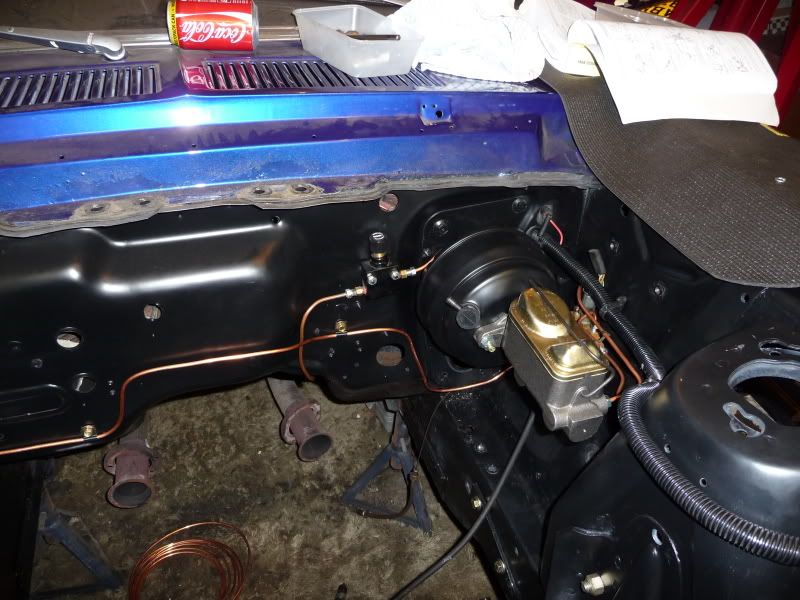
Next is the first of many upgrades. I chose to replace the old leaky factory power steering system for a modern power Rack and Pinion system. After doing hours of research and reading online about the kits on offer I settled on Randall's Rack and Pinion conversion. Here's the Randall's Rack & Pinion kit showing the rack, braided hoses and crossmember.

Fitting the rack itself was relatively straight forwards, but modifying the 1968 collapsable steering column was more tricky but not hard.
Once the rack was installed, the new (correct) power-brake master cylinder and brake pipes were made to fit. Getting the appropriate fittings in the UK was a challenge, I found a very helpful ebay seller who stocked the lot and shipped them directly to the UK for me.

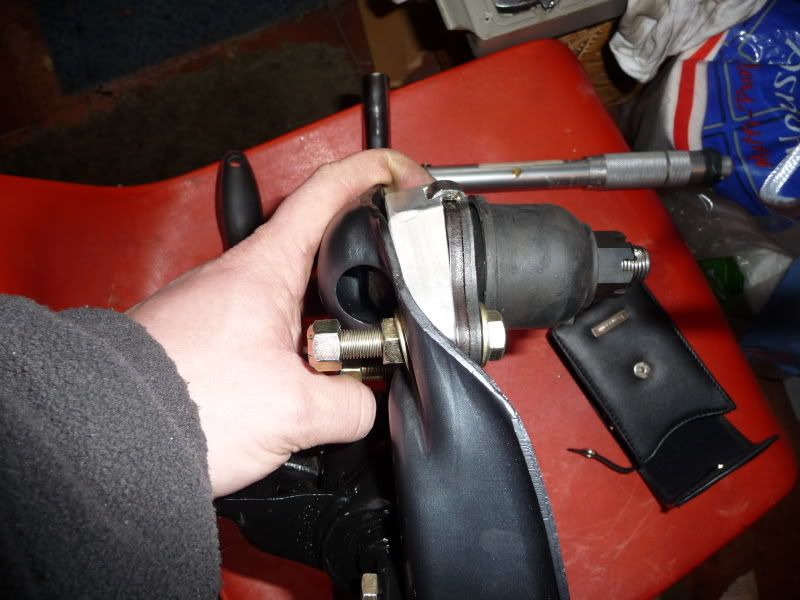
This image shows the "Negative Wedge" kit fitted to the UCA. The idea of the kit is to change the upper ball-joint angle to avoid binding when lowering the UCA mounting position. The wedge allows the mounting point of the UCA to be lowered greater an 1", improving suspension geometry (specifically camber gain). This is a similar modification to those carried out by Shelby American on the early Shelby Mustangs. However, the early Shelby cars only lowered the UCA mounts by 1 inch for the same reason (to try and avoid damaging the upper ball joint). This suspension mod is often called the "Shelby Drop" or "Shelby Mod", but it was actually suggested by a Ford suspension engineer called Klaus Arning.
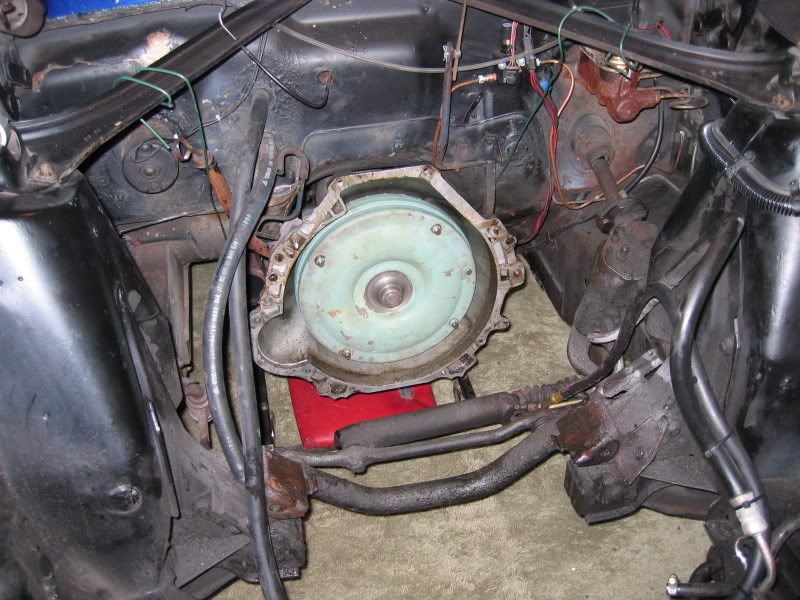
The orignal Ford C4 3-speed automatic transmission was sent out for refurbishment at Newbury Transmissions, a local specialist that is familiar with these superb older generation units. A shift improver kit was also fitted to the transmission valvebody to improve longevity and make the shifts more positive. At the same time for convienice I chose to fit a deeper chromed oil-pan with a drain plug to make future fluid changes less messy, along with all new stainless steel transmission cooler pipes and radiator (which has a heat exchanger inside for the transmission fluid also).
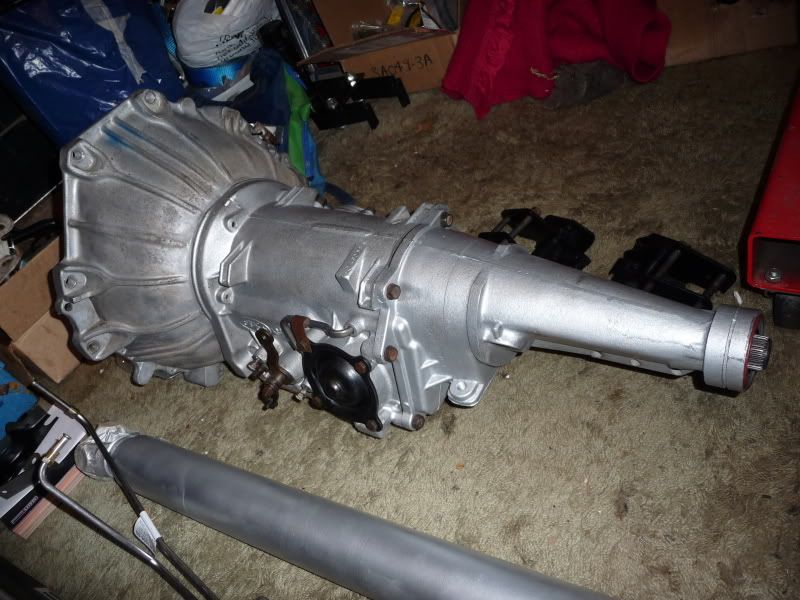
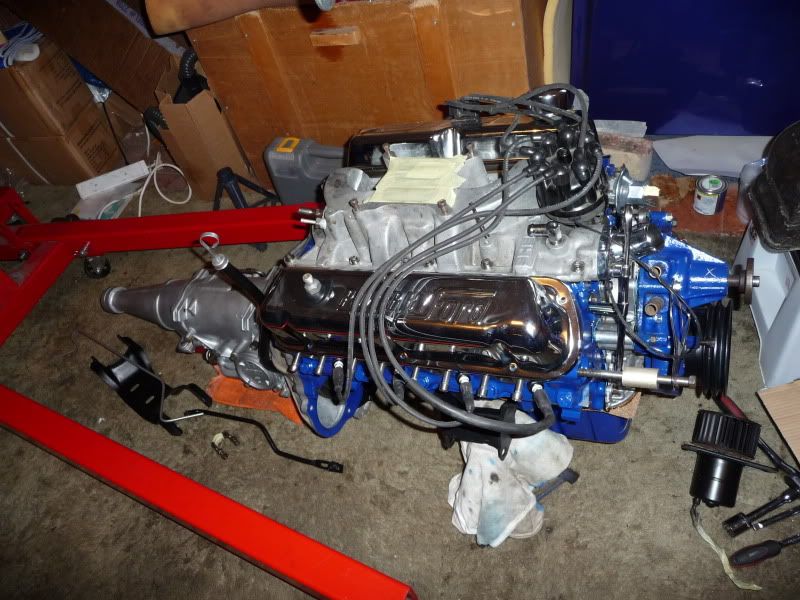
The torque converter was part filled with Ford Type-F (now revised to "Type-G") ATF and then mated with the rebuilt 302ci V8 engine ready for installation.
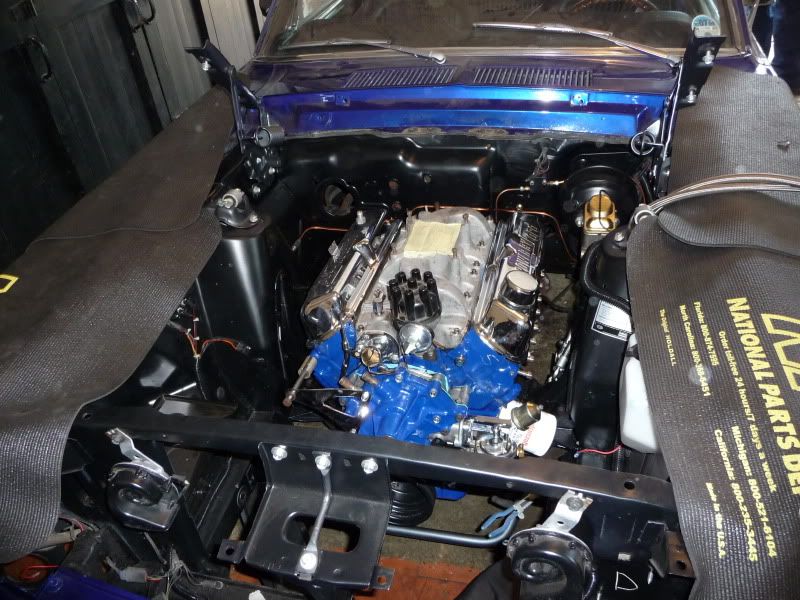
Engine and transmission now safely where they belong, in the engine-bay.
Everything all bolted back together with the new one-peice export brace (shock tower brace) installed ready for the first start up and all important camshaft break-in procedure.
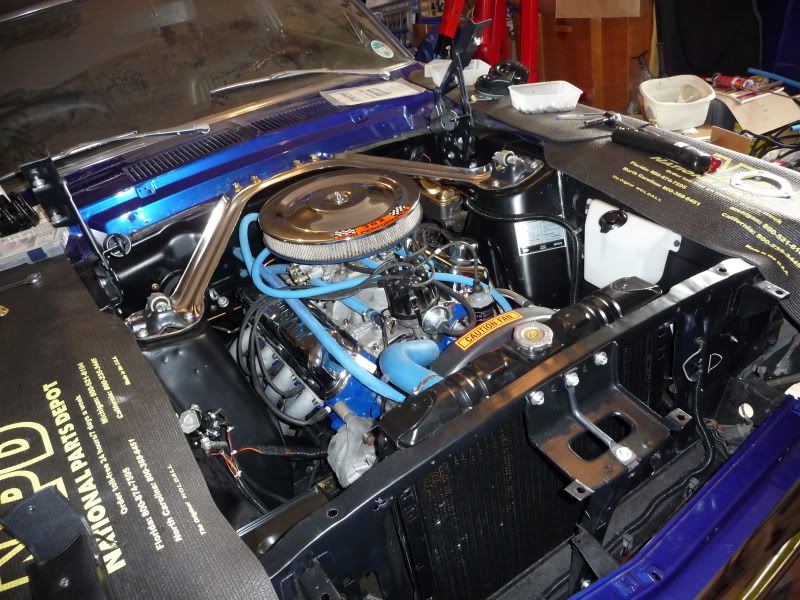
The last phase was to iron out any little niggles, check and setup all of the suspension alignment and finally tune the igntion advance curve and carburettor. After a a few miles of conservative driving and some fun getting the Crane XRi ignition module to stop cutting in at 3000rpm I finally had the car that I was promised several years before. Now it runs, drives, stops and works as good as it looks... finally!
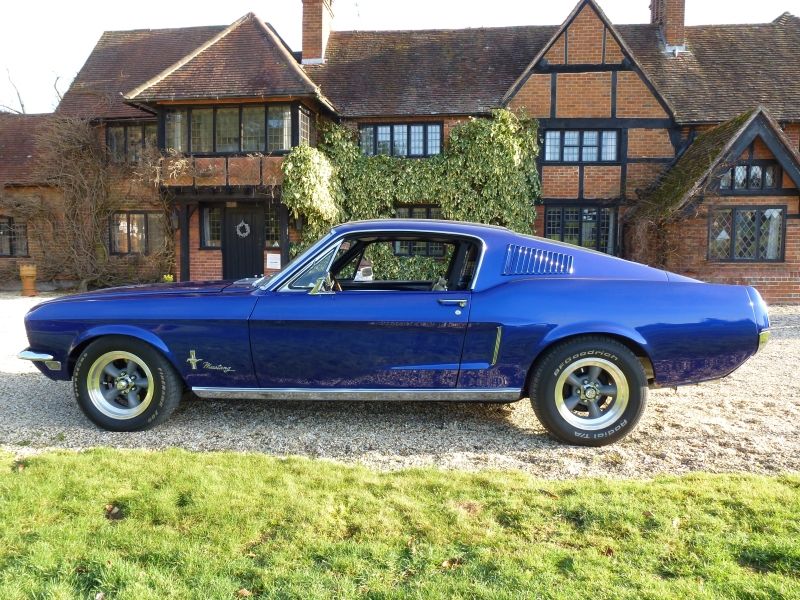
Here's a few more recent photos - Added 12/10/2013